Hello there. Wondering if anyone can help with missing background colour. Tried using gradient, background image, and solid colour - anything but white - and none of them show up after exporting. Any ideas?
Much appreciated
Hello there. Wondering if anyone can help with missing background colour. Tried using gradient, background image, and solid colour - anything but white - and none of them show up after exporting. Any ideas?
Much appreciated
Are you trying to put a graphic element behind your text?
If so, how did you do it and what format did you try to export in?
Background images are only exported for HTML but not for other formats. I think there is a note about this in the dialog. Background colours and gradients are only display settings and will not export anywhere as far as I know.
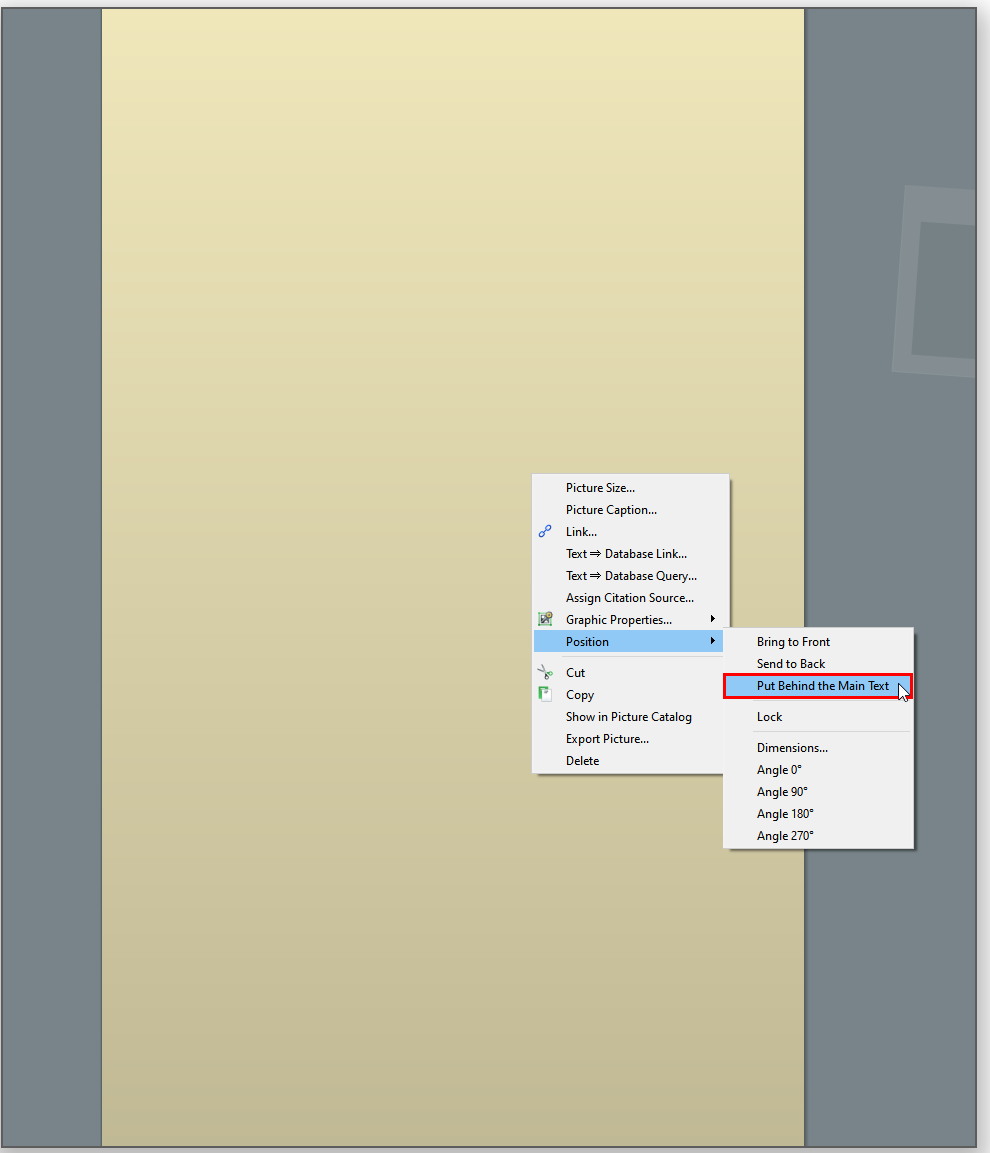
If you want a solid background colour in the document and in an exported PDF you need to place a rectangle on the page (or on the master page), change its colour, and arrange it behind the main text (right click > Position > Put Behind the Main Text)
Thank you for the response. Seems really counter intuitive, spent hours last night, even tried it with HTML and no luck. Used the rectangle method you suggested - Standard Page works on all pages apart from the front page ‘Front Matter’, any idea for work arounds to get front page as well?
Tried background image, solid colour, and gradient, exported in pdf, doc, and html, none show up any colour. Images show up but for some reason background images aren’t available, we found.
Tried to find another program that allows background colours. Strange to find such a simple and basic feature not available as standard.
Hi, welcome to the Community!
The background color setting is for displaying the document on your monitor, and will not print. This is to avoid printing a document with fully-colored pages by accident.
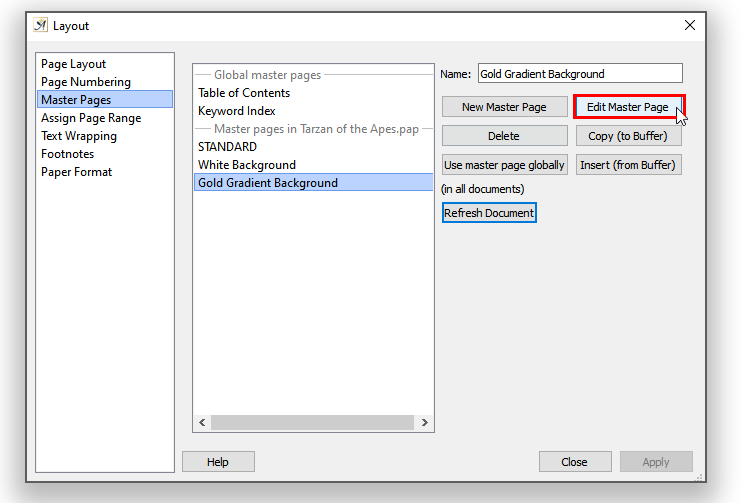
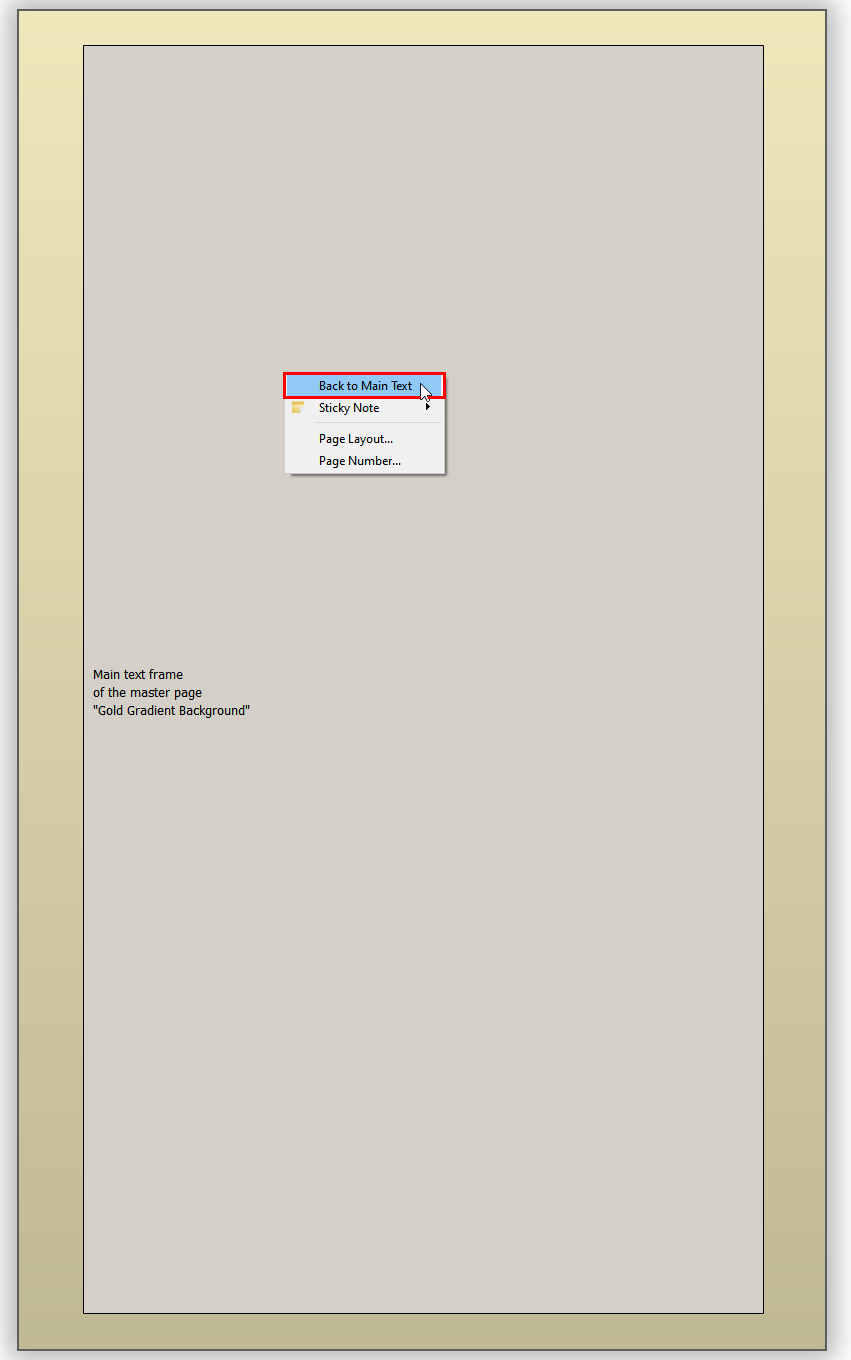
This is correct. The best way to do this is to add a background image to the master pages you use, and assign the page range accordingly.
Here’s how to do it:
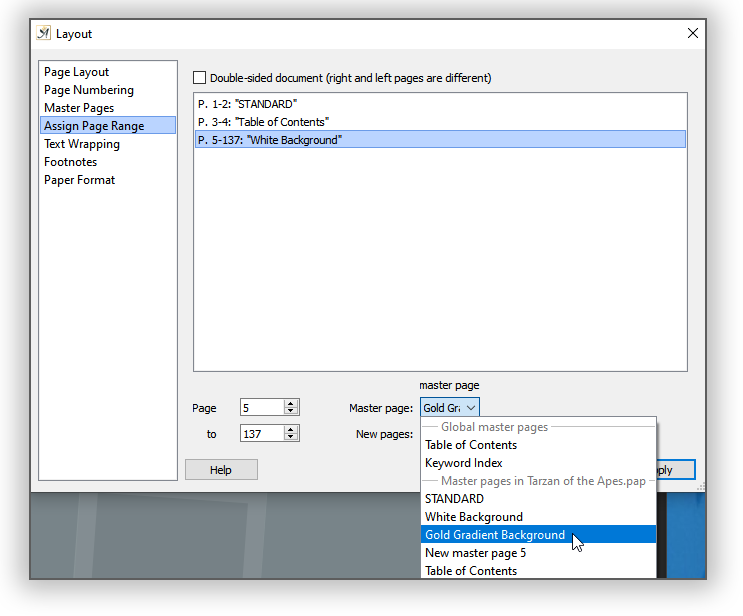
If you navigate to ‘Document’ → ‘Page Layout’ → ‘Assign Page Range’, you can set which pages of your document use which master page.
You can read more on master pages in our wiki.
Hi
I tried that and when writing the background stays but the text moves on - so this seems not a viable option to highlight a paragraph and it certainly seems awfully complicated. Maybe I did things wrong though. Is there any further help on this matter?
Cheers,
Ralph
Hi Ralph. Welcome to the Community ![]()
Do you mean, when the text moves to the next page, the background colour is missing?
If so, check the settings for “Assign Page Range” (Document - Page Layout). Make sure the page range for the coloured master page is set correctly, and also that “New pages” is set to “same”.
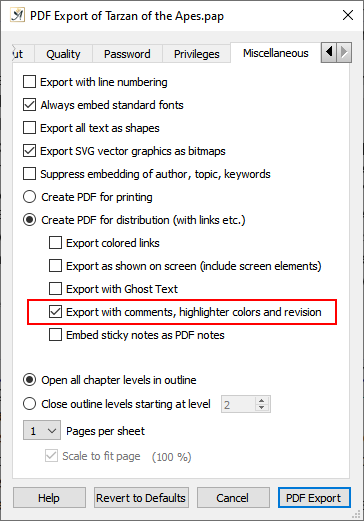
If you are looking to highlight just a specific paragraph of text, try using the “Highlighter Mode” under the Text menu. This can be printed when exporting to PDF:
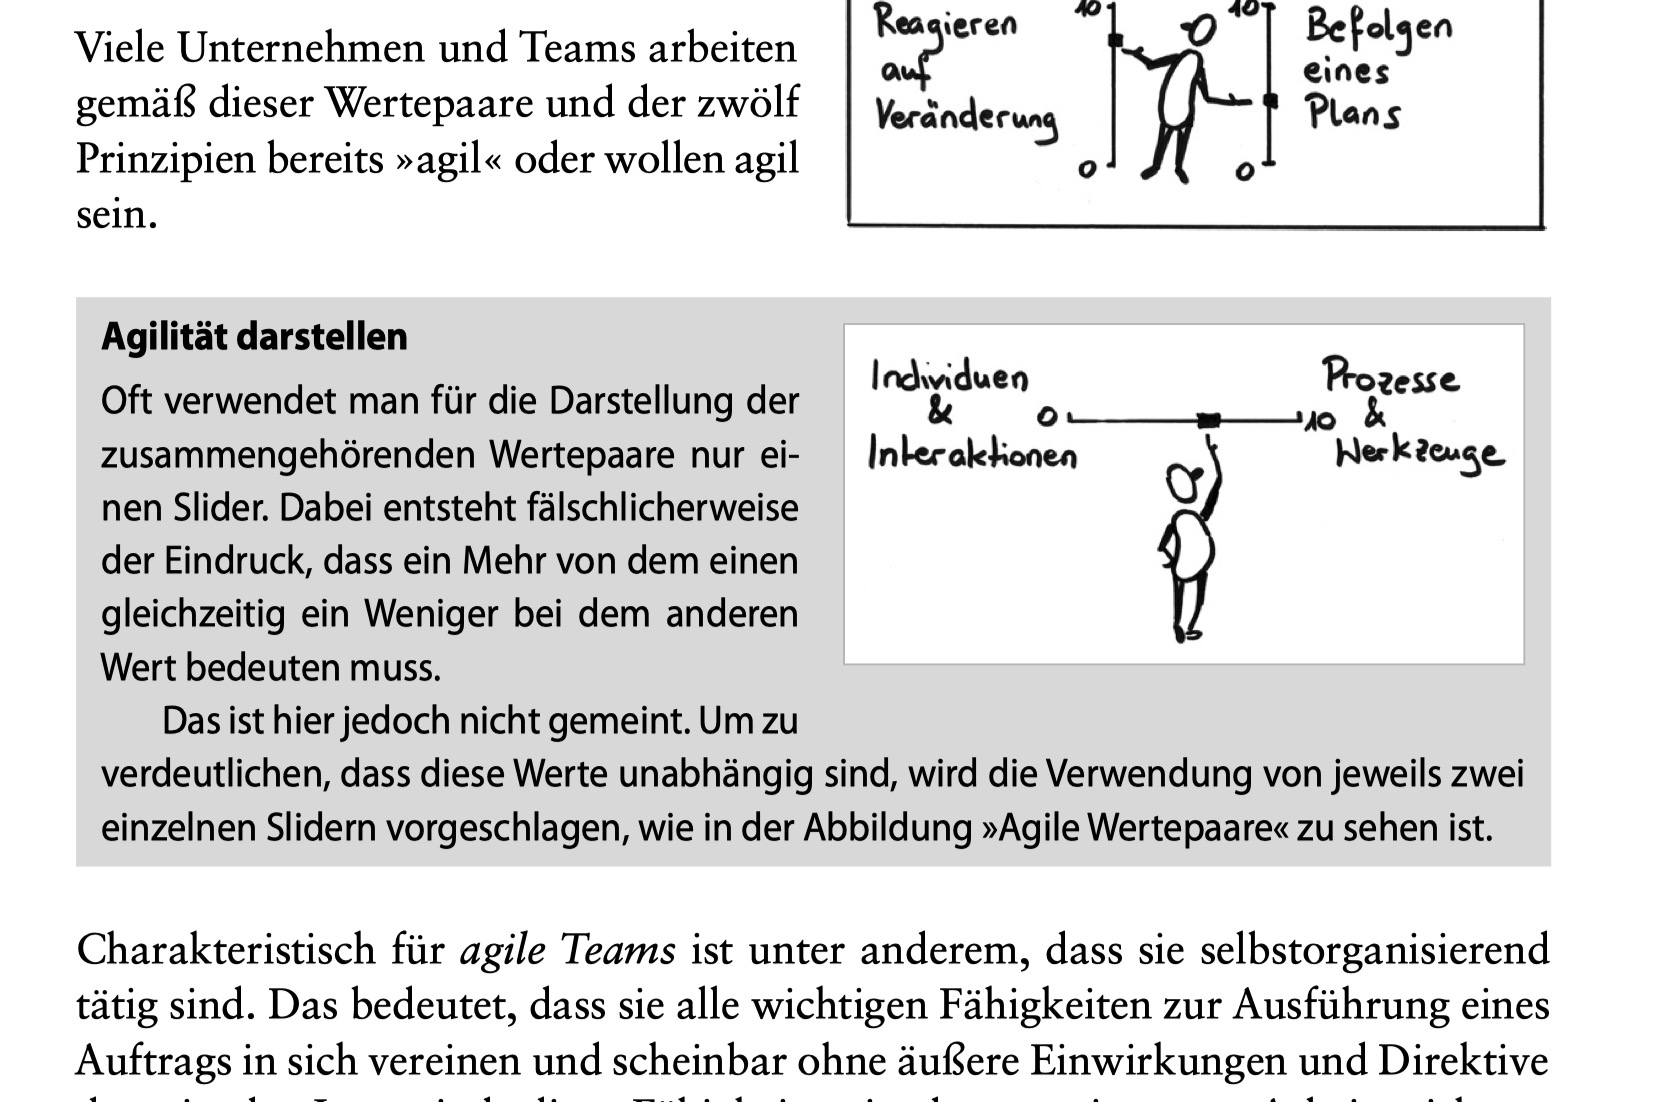
Thank you, Eva, for the hint. I am trying to make such boxes (see picture) so that tips, definitions and examples are highlighted accordingly.
Thanks for the extra information.
You could achieve this with text highlighters. If the sentence ends part-way along the line, you can use spaces to fill it.
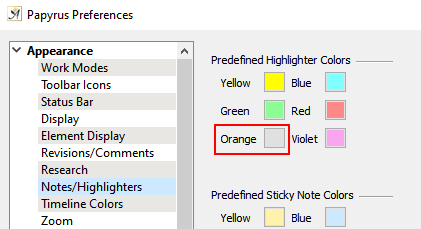
The colour of the highlighter can be changed under Options - Preferences - Notes/Highlighters. Here I have changed the orange highlighter to be grey:
An alternative option is to use text boxes:
Thank you for these hints. I will try that.